Easy Homemade Almond Butter

In a world where store-bought spreads often come with added sugars and preservatives, there’s nothing quite like the satisfaction of crafting your own wholesome and delicious almond butter at home. Not only is it a healthier alternative, but the process is surprisingly simple, requiring just one ingredient – almonds.
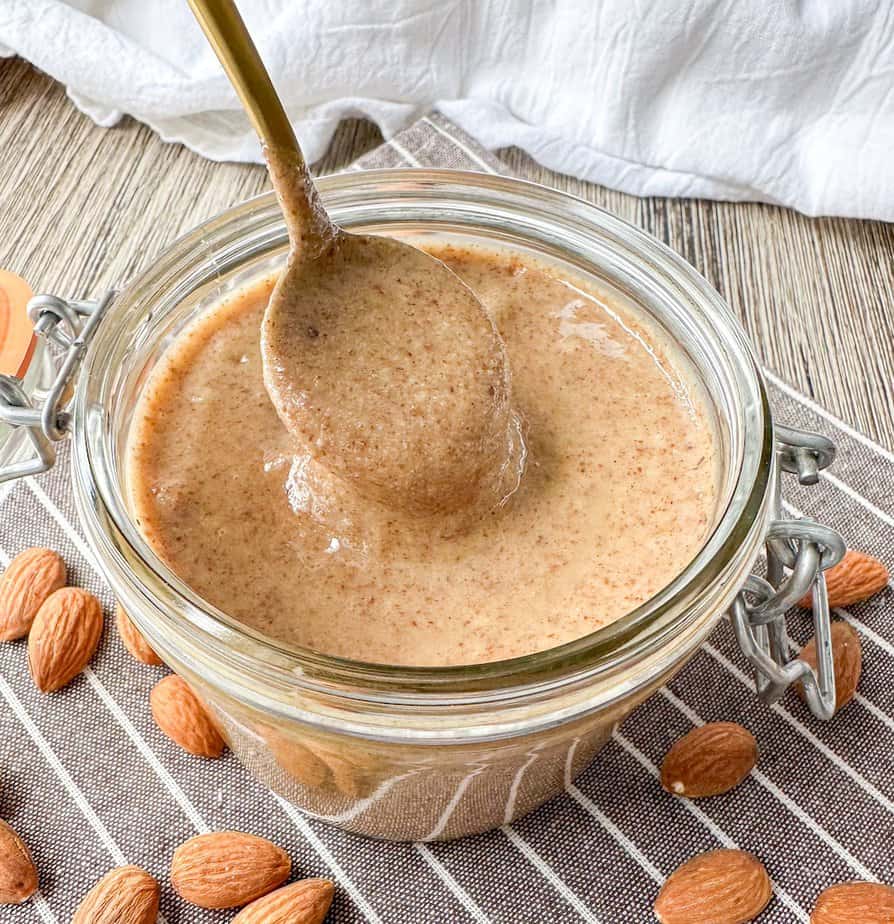
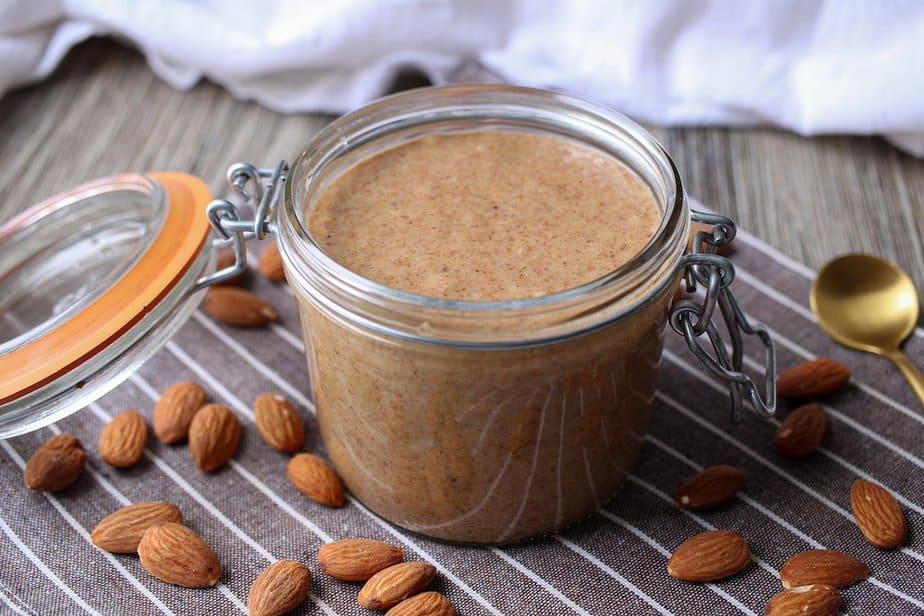
The first time I made my own almond butter, I think I ate about half of it before it hit the mason jar! It’s that delicious! Then the fact that with the right equipment it’s seriously so easy to make at home at a fraction of the cost at the grocery store. And it’s fun making your own nut butter! In this recipe, I add maple syrup to add a little more sweetness and flavor. Personally, I think with adding the maple syrup it makes the best almond butter!
Ingredients for Easy Homemade Almond Butter
- Raw whole almonds – unsalted almonds is best
- Pure Maple syrup – optional
Equipment:
- Food processor or high speed blender – such as a Cuisinart food processor or Vitamix blender
- A pinch of patience
How to Make Homemade Almond Butter
Step 1: Gather Your Almonds
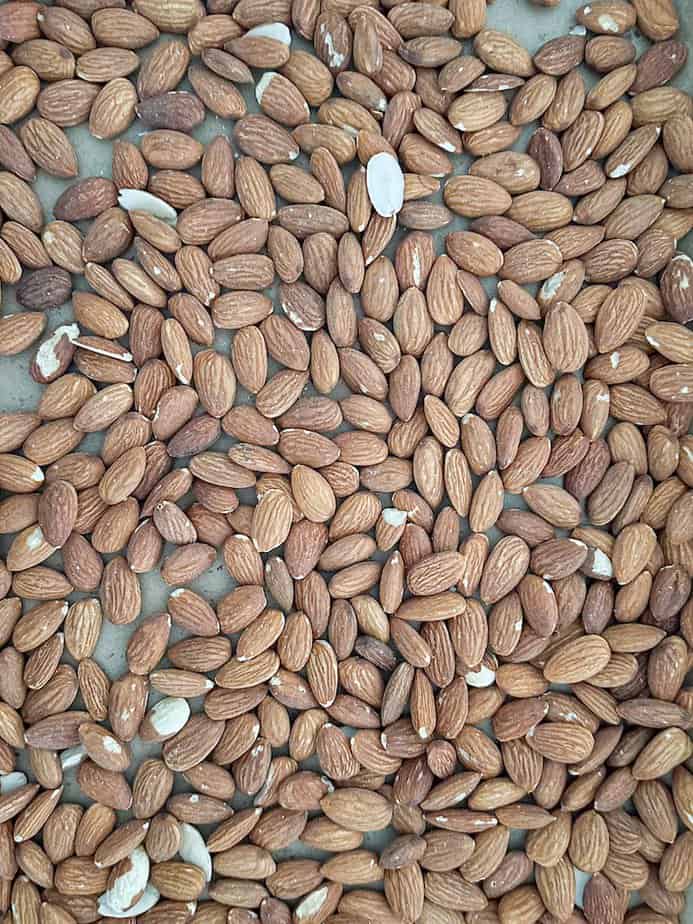
Start with high-quality raw fresh almonds. Ensure they are fresh and haven’t been previously roasted or salted. The quantity can vary based on your preferences, but a good starting point is 2 cups of almonds. For this recipe, I use 4 cups.
Step 2: Roasting (Optional)

You can roast the almonds for an extra depth of flavor. Spread them evenly on a baking sheet lined with parchment paper and roast at 350°F (175°C) for 10-12 minutes. Keep a close eye to prevent burning. Roasting enhances the nutty aroma and brings out a richer taste in your almond butter.
Step 3: Blend Away
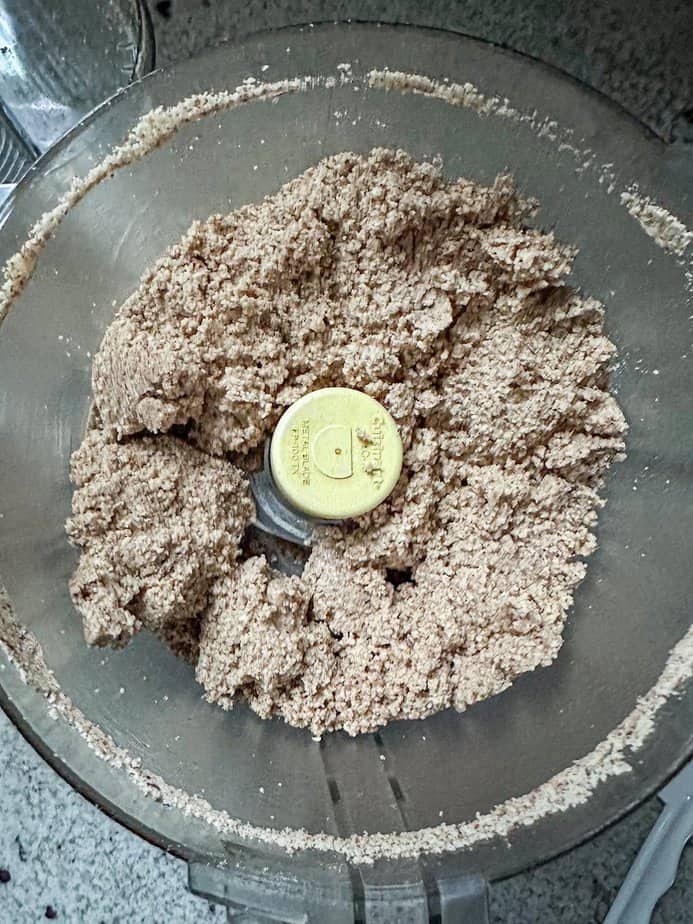
Once your almonds are ready, let them cool for a few minutes before transferring them to the food processor or blender. Begin by pulsing the almonds until they form a coarse meal. Then, gradually increase the speed to high.


Step 4: Patience is Key
Almond butter requires a bit of patience. During blending, you’ll notice the almonds go through different stages as the natural oils in the almonds begin to release. They go from a grainy texture to a clumpy consistency, and finally, a smooth and creamy butter. This process can take anywhere from 10-15 minutes, depending on your equipment’s power. You want to blend until you get to a creamy consistency. If your almond butter still feels dry after processing, you can add 1 tablespoon at a time of neutral oil such as, grapeseed, safflower, or avocado oil until you able to achieve that smooth almond butter consistency.
Step 5: Scraping and Seasoning
Periodically pause the blending process to scrape down the sides of the bowl of the processor or blender. This ensures an even texture. At this point, add a pinch of salt and the maple syrup for flavor enhancement. Tailor it to your personal preference.

Nutritional Benefits
Almond butter is packed with heart healthy fats, protein, vitamins and minerals, such as calcium, magnesium and Vitamin E.
It goes without saying that homemade almond butter is better for then store-bought almond butters as you are making it fresh and can control how much or little salt, flavor or sweetener. And there are no preservatives added to make it shelve stable.
It’s the perfect healthy snack.
Add-on’s
There are so many different ways to up your flavor game! Here are a few ideas:
- Drizzle of Honey
- Cinnamon – start with about 1/2 tsp and add from there.
- Medjool dates
- Vanilla extract – same as cinnamon, start with 1/2 tsp and add from there
Storage
Transfer your homemade almond butter to a clean, airtight container. It can be stored in the refrigerator for up to two – three weeks. I prefer to store mine in a glass jar, typically a mason jar. You can store at room temperature for a day or two at the most. Remember, there are no preservatives, so storing in the refrigerator will extend self-life.

Ways to Serve
- Spread it on toast with some sliced bananas or strawberries
- Add to smoothies – my favorite blend – 2 tbsp almond butter, 1 1/2 cups almond milk, banana, 1 tsp chia seeds, 1 scoop chocolate protein powder – delicious!!
- Use it as a dip for fruits
- Instead of PB&J do AB&J!
- Spread on banana bread – check out my recipe for Banana Nut Bread.
- Use in your favorite recipes for a nutritious boost or nutty flavor.
Conclusion:
Making your own creamy almond butter is not only a rewarding experience but also guarantees a healthier spread for you and your family. With a handful of almonds and a trusty food processor, you can elevate your snacking game and savor the wholesome goodness of homemade almond butter. Give it a try, and you’ll never go back to store-bought alternatives!
Other Recipes You Might Enjoy
White Bean and Fresh Thyme Dip
Equipment
- Food Processor or High Speed Blender
Ingredients
- 4 cups almonds, whole raw
- 2 tbsp maple syrup, pure
- Pinch of salt
Instructions
- Optional – Roast the almonds for an extra depth of flavor. Spread them evenly on a baking sheet lined with parchment paper and roast at 350°F (175°C) for 10-12 minutes or until fragrant. Allow to cool.
- Once they are cooled, transfer the roasted almonds to a food processor or blender. Begin by pulsing the almonds until they form a coarse meal. Then, gradually increase the speed to high.
- Almond butter requires a bit of patience. During blending, you'll notice the almonds go through different stages as the natural oils in the almonds begin to release. They go from a grainy texture to a clumpy consistency, and finally, a smooth and creamy butter. This process can take anywhere from 10-15 minutes, depending on your equipment's power. You want to blend until you get to a creamy consistency. If your almond butter still feels dry after processing, you can add 1 tablespoon at a time of neutral oil such as, grapeseed, safflower, or avocado oil until you able to achieve that smooth almond butter consistency.
- While blending, add the maple syrup and a pinch of salt.
- Once you achieve the creamy texture. Serve and Enjoy!