You truly cannot match the flavor of homemade sauerkraut with store bought. It’s one of the easiest things to make that seems like it should be complicated, but it’s not. This Homemade Sauerkraut with Garlic recipe is one that I make on repeat as I always have a jar of it in my refrigerator. The cabbage is nicely crunchy with a bit of tang and a hint of garlic. Below I will walk through step-by-step on how to make your own homemade sauerkraut so will you never want to buy store-bought again!
I grew up on homemade fresh sauerkraut. My mom would always have a huge ceramic jug of it fermenting in our house. However, I will be honest, I only acquired a true love for it later in life. Especially, once I discovered how our gut health is pivotal for a strong immune system and overall health.
What is Sauerkraut
Sauerkraut is shredded cabbage and salt that is fermented through naturally occurring bacteria. It has a tangy flavor with a crispy crunch. (In this recipe, we use garlic and caraway to add additional flavor.) Through the fermentation process, probiotics are created making sauerkraut a good source of live naturally occurring probiotics as well as vitamins and minerals.
Ingredients
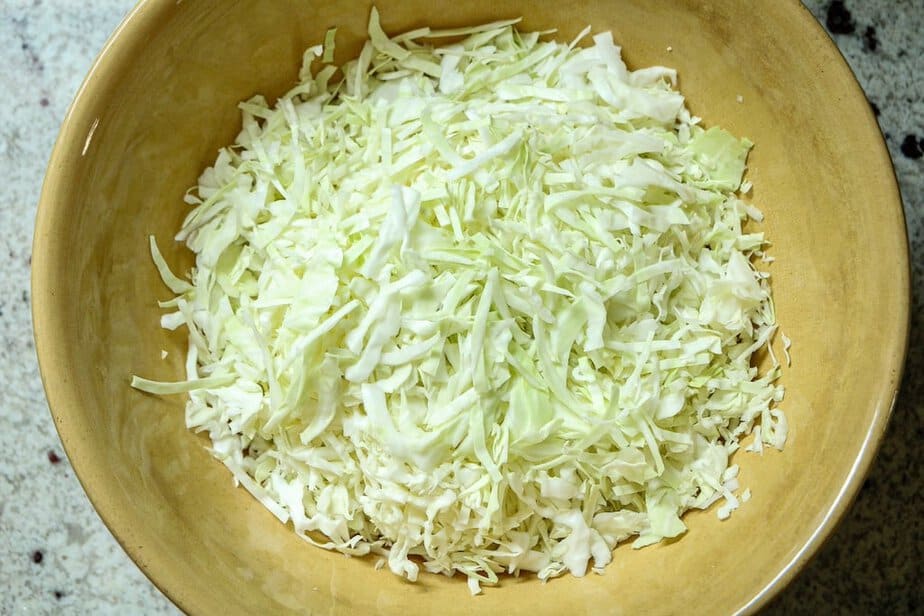
Cabbage: About 3 lbs of shredded or sliced, unwashed green cabbage. Rinsing the cabbage will remove the bacteria of which is needed in the fermentation process. If there is visible debris, then remove those outer leaves and discard.
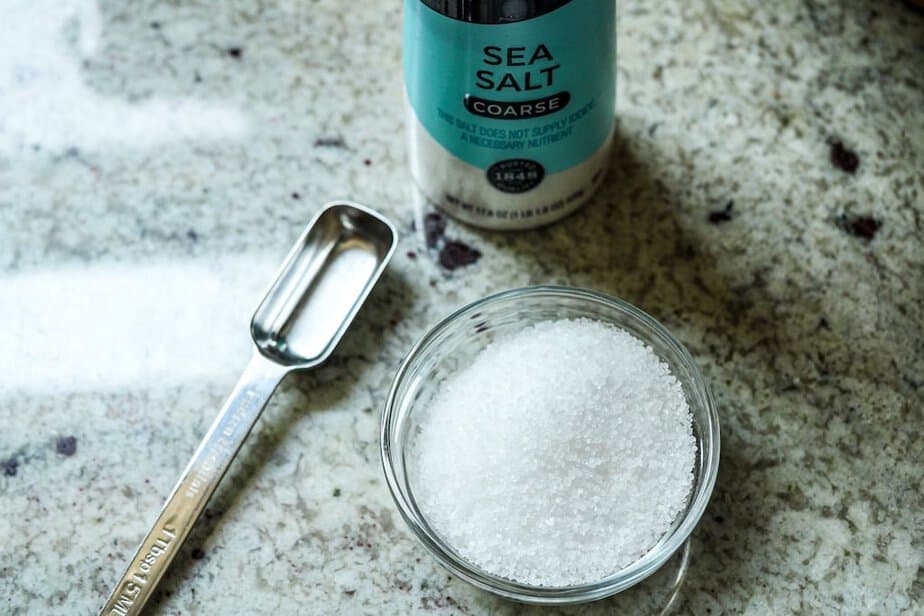
Salt: 3 teaspoons of course sea salt. Generally, you want 10 grams (1 tsp.) of salt per pound of shredded cabbage. For this recipe I am using 3 teaspoons as I have 3 lbs. of shredded cabbage.
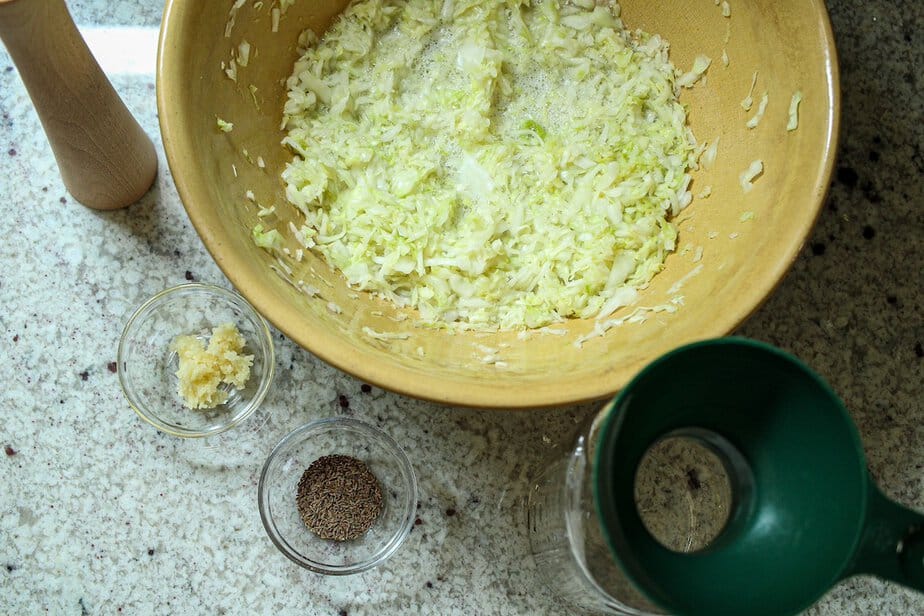
Garlic: 1 tablespoon of freshly minced garlic for that hint of flavor.
Caraway seeds: ½ -1 teaspoon. Optional – If you like the flavor of caraway seeds then add ½ -1 teaspoon depending on preference. We are not big fans of it in our sauerkraut, therefore I use very little or omit in my batches. However, it is an ingredient that is often used in traditional sauerkraut.
Equipment Needed
Large Bowl: You want a bowl that will be big enough to hold all of the shredded cabbage and will not spill over as you work the cabbage.
Kitchen scale: this is optional but highly recommended. You can purchase one fairly inexpensively. I use this kitchen scale that I purchased from Amazon several years ago and it’s still works great! My scale is used weekly, so I have definitely got my money’s worth!
Large canning jar with fermentation lid and weights, or other fermentation vessel: I use a large clean 2-quart mason jar and fermentation lid with weights that I purchased from Amazon. Here is a link for fermentation lids with weights that I use.
Funnel: Any funnel that can fit a wide-mouth canning jar will work, I use the funnel in my kitchen and can’t do without it.
Sauerkraut Pounder: I use this pounder as it fits a variety of vessels, particularly canning jars.
How to Make Sauerkraut
Yields: 8 cups (2-quarts) of fresh sauerkraut.
Shred or slice the cabbage either using a sharp knife, or shred in a food processor. Save one clean outer leaf of the cabbage to cover the cabbage when fermenting.
As stated above, a good rule of thumb for salt to cabbage ratio is for every 1lb. of cabbage use 1 tsp. of salt
Example: 1 lb. cabbage = 1 tsp. salt (10 grams), 2lbs. cabbage = 2 tsp. salt (2 grams) and so on.
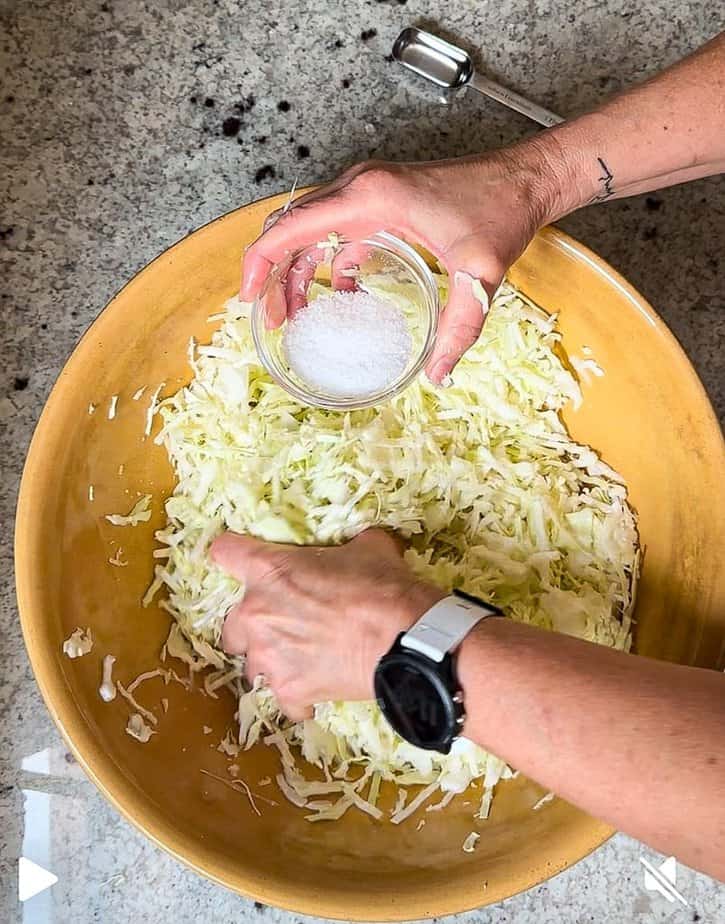
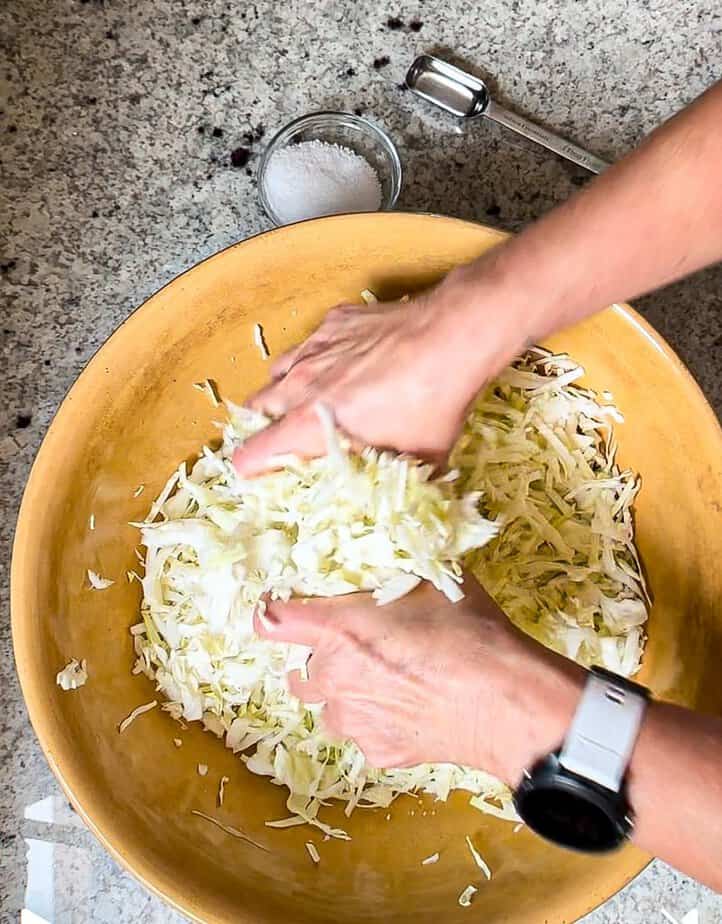

- Add the cabbage to a large bowl. Sprinkle about half of the salt over the cabbage. Using clean hands, begin massaging the salt into the shredded cabbage. Add the remainder of the salt and continue massaging the cabbage for 5 minutes.
What do I mean by massage? Using both hands, grab the cabbage and squeeze. Keep doing this, working your way through all of the cabbage and keep going for 5 minutes. This will cause the juices from the cabbage to release which will create a brine. See photos above. And yes, this will help you increase your grip strength! You’re welcome 😉
- Cover the bowl with a kitchen towel and allow the cabbage mixture to rest for 30 minutes.
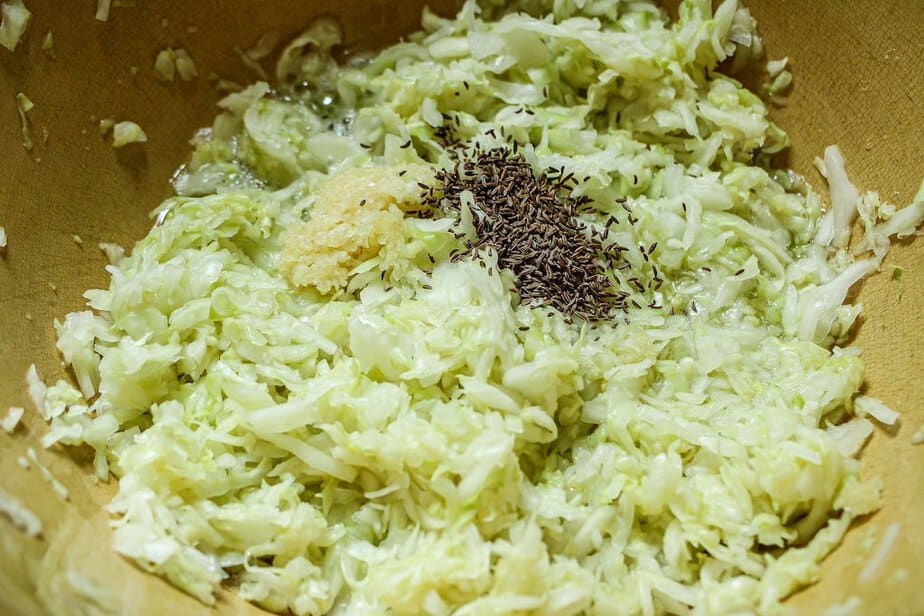
- Next, remove the cover. Add the garlic and caraway seeds (if using caraway) to the cabbage. Using your clean hands again, incorporate the garlic and caraway into the cabbage and massage again for another 5 minutes (workout #2 😉 ). You should have quite a bit of liquid developing at this point which is the brine needed to ferment.
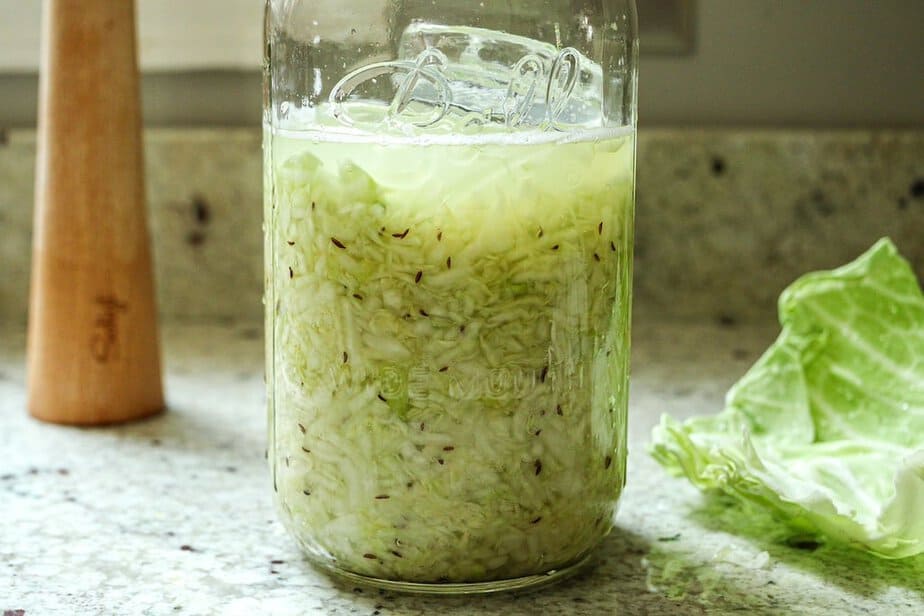
- Your mixture is now ready to go into your fermentation vessel. Using a clean funnel if needed, add the cabbage and all of it’s liquid to the vessel (I use a clean sterilized 2- quart canning jar). Then use a sauerkraut pounder, or a clean meat tenderizer to pack the cabbage into the vessel. Once packed down, there should be enough liquid that has risen to the top to cover the cabbage. Take the reserved cabbage leaf and press into the jar or vessel to create a covering over the cabbage. Press that down so that it is under the brine as well. *Note – make sure to leave some headspace in the jar – about 2-3 inches.
- Add your weights to the jar, as this help keep all of the cabbage in the brine so that fermentation can begin. (I personally add 2 weights to my jar to keep everything under the brine). Wipe the area above the brine with a clean cloth or paper towel to remove any particles or pieces of cabbage that did not make it’s way under the brine.
- You want all of the cabbage under the liquid as the brine helps to ferment and preserve. It will also keep kahm yeast or mold from forming – discussed further down.
- Store your sauerkraut vessel in a cool dark place (out of direct sunlight) below 70℉ for 1-4 weeks. It’s a good idea to keep a plate under the jar/vessel in the event your sauerkraut bubbles over. Personally, I have never had this happen, but I also don’t like to risk it! I keep my jar in the back area of my counter out of direct sunlight, but in an eyes-view so that I can easily check it daily.
Would you like to save this?
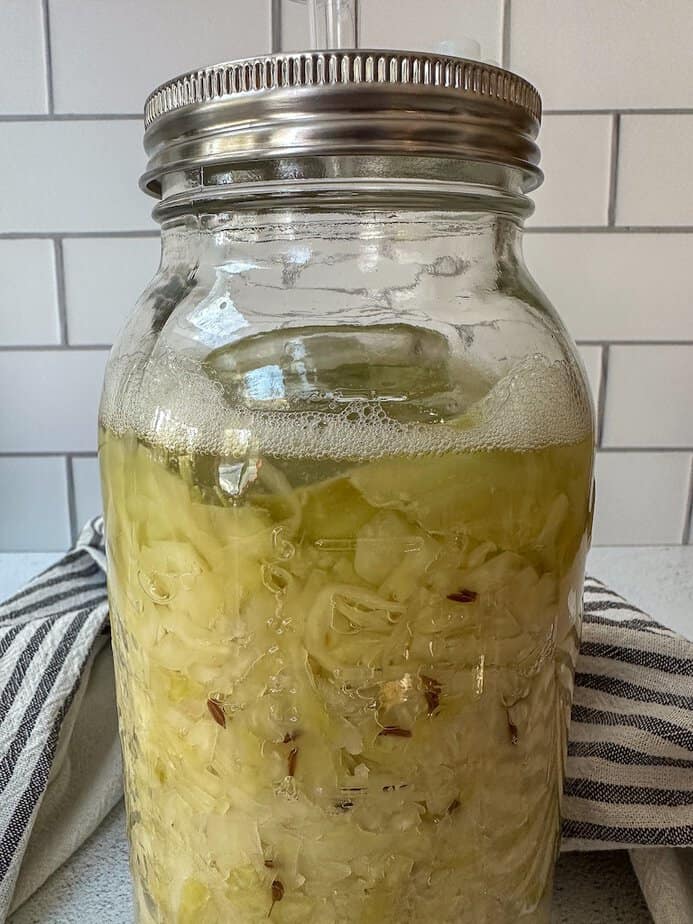
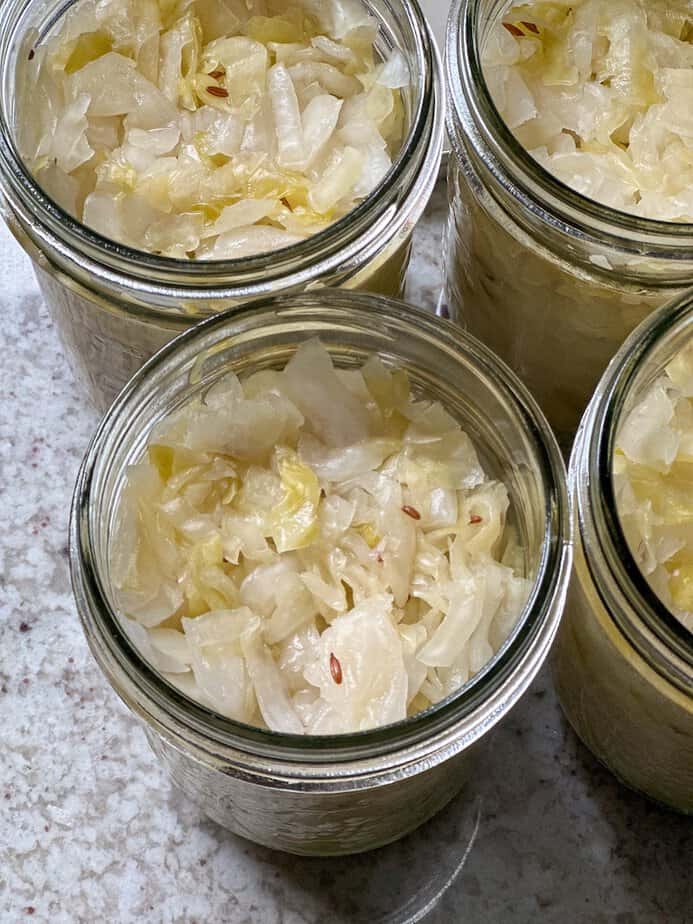
The photo above ☝️ was taken after one week. You can see bubbles forming on the surface, and it’s hard to see in the photo but there are bubbles within the cabbage itself. This means there is active fermentation occurring. I will keep an eye on this, not opening the jar but checking it over to ensure there is no Kahm yeast (which I discuss further down under Fermentation) or mold begins to form.
How do I know my Sauerkraut is ready?
This is really up to personal preference. If you like a little less tang, then I would check and taste it at the 1 week mark. *During warmer months, fermentation may occur more quickly, in which case I check mine at about 1 – 1½ weeks. If you like a little more tang, let it ferment longer, checking every 4-5 days. The longer you let it ferment the more the cabbage will breakdown and soften as well. We live in New England, therefore winter is cold! When I ferment ours in the winter it generally takes 2-3 weeks to get a nice crispy, garlicky tang.
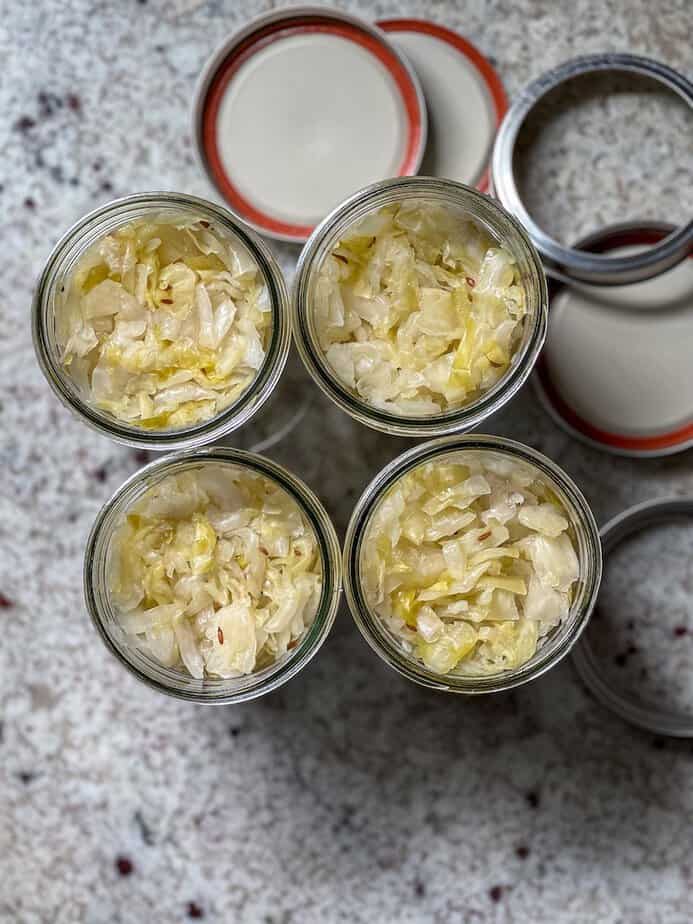
Another indicator that fermentation is complete is the color changes. The color of the cabbage itself will change with fermentation – it will go from that white-light green color to a more golden yellow.
Storage
Once your Sauerkraut is ready, replace fermentation lid with a secure lid or top. Store in the refrigerator for up to 4-6 months.
* It’s important to know that you will want to make sure you are using clean utensils when removing fresh sauerkraut from the jar as this will prevent unwanted (bad) bacteria from entering the jar and will help in its preservation. Equally as important – use clean hands, utensils and vessels during the preparation process.
Fermentation
Sauerkraut fermentation is a natural process where finely shredded cabbage is mixed with salt and left to ferment. The salt draws out moisture, creating a brine that preserves the cabbage while creating an oxygen-free environment. Beneficial lactic acid bacteria (like Lactobacillus) thrive in this setting, converting sugars into lactic acid, which gives sauerkraut its tangy flavor and acts as a natural preservative while creating beneficial probiotics.
If you would like further information, or would like to just geek out on fermentation, Science Direct has a great article that you might find helpful.
A little bit about Kahm Yeast – according to NW Ferments “Kahm yeast is the term that covers a collection of a variety of harmless yeasts that consume sugar from your ferment. Kahm yeast can grow on all fermented foods, including sauerkraut, pickles, kombucha, kimchi, and sourdough starters.“- NWFerments.com
Kahm yeast is usually white, beige, or creamy in color. You can scoop out the kahm and discard it. You can also add a little more salt to the batch. Your batch of sauerkraut should have a pleasant sour smell. If the batch smells at all off, discard it.
Kahm yeast (not harmful) is different from mold, which is harmful. If mold is present—a green, black, blue, or white substance that is fuzzy or hairy—the batch should be discarded.
You can prevent Kahm yeast from forming by using all clean/sterilized vessels and utensils. By keeping your fermenting vessel in a cool dark place below 70℉. And by making sure all food particles are under the brine and not exposed to air.
Benefits of Fermented Foods
Studies have shown that fermented foods help to aid in a healthy gut microbiome. A healthy and diverse microbiome helps to benefit overall health. Fermented foods provide the gut with “good bacteria” and natural probiotics.
Ways to Serve Fresh Sauerkraut
The options are endless! Here is a few ways I use my Sauerkraut, but honestly I enjoy right from the jar!
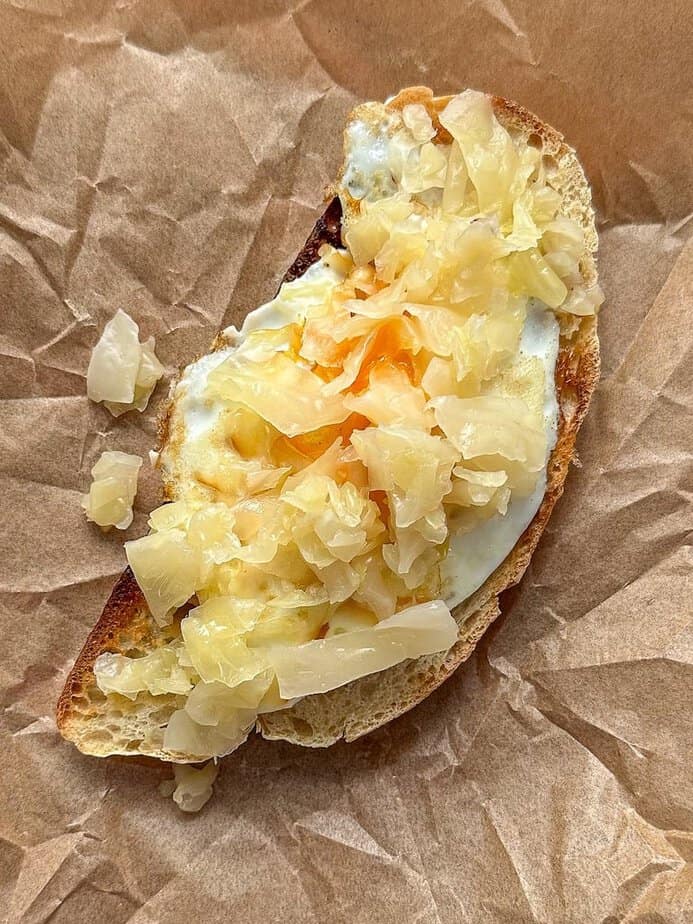
Sandwich: Add sauerkraut to a sandwich such as a classic Reuben Sandwich or to it’s vegan version the Rachel. My favorite is to add to an egg sandwich with melted swiss cheese on sourdough – a must try in my opinion!
Serve with Bratwurst: personally we like to serve it with a plant-based bratwurst with a side of mac and cheese 😋
Salad: Add to your favorite salad to add a crunchy, garlicky tang.
Rice Bowls: Add to your favorite rice bowls or Buddha bowls.
Breakfast bowls: We also like to add it our breakfast bowls using Scrambled Tofu.
If you enjoy fermented food then check out our Fermented Cranberries in Honey which has a sweet tangy delicious flavor.
Nothing beats a fresh batch of homemade sauerkraut!! If you make this recipe I would love to hear your feedback! Comment 👇 .
This post may contain affiliate links by which I may receive a small commission. All product links are items I personally use in my kitchen.
Homemade Sauerkraut with Garlic
Equipment
- Canning jar, wide-mouth
- Large bowl
- Kitchen towel
Ingredients
- 3 lbs. shredded cabbage
- 3 tsp. sea salt, course
- 1 tbsp. minced garlic
- ½ -1 tsp. caraway seeds Optional
Instructions
- Add the cabbage to a large bowl. Sprinkle about half of the salt over the cabbage. Using clean hands, begin massaging the salt into the shredded cabbage. Add the remainder of the salt and continue massaging the cabbage for 5 minutes.
- Cover the bowl with a kitchen towel and allow the cabbage mixture to rest for 30 minutes.
- Next, remove the cover. Add the garlic and caraway seeds (if using caraway) to the bowl. Using your clean hands again, incorporate the garlic and caraway into the cabbage and massage again for another 5 minutes. You should have quite a bit of liquid developing at this point which is the brine needed to ferment.
- Your mixture is now ready to go into your fermentation vessel. Using a clean funnel if needed, add the cabbage and all of it's liquid to the vessel (I use a clean sterilized 2 quart canning jar). Use a sauerkraut pounder, or a clean meat tenderizer to pack the cabbage into the vessel. Once packed down, there should be enough liquid that has risen to the top to cover the cabbage.
- Take the reserved cabbage leaf and press into the jar or vessel to create a covering over the cabbage. Press that down so that it is under the brine as well. Add your weights to the jar, as this help keep all of the cabbage in the brine so that fermentation can begin.
- Wipe the area above the brine with a clean cloth or paper towel to remove any particles or pieces of cabbage that did not make it's way under the brine.
- You want all of the cabbage under the brine as the brine helps to ferment and preserve. It will also keep Kahm yeast or mold from forming.
- Store your sauerkraut vessel in a cool dark place (out of direct sunlight) below 70℉ for 1-4 weeks. It's a good idea to keep a plate under the jar/vessel in the event your sauerkraut bubbles over.
- After 1 – 1½ weeks, taste the sauerkraut. If it meets your preference for tanginess then your sauerkraut is ready to enjoy! If you prefer a bit more tang, then let it continue to ferment until it meets your personal preference. *We generally let ours go for 2-3 weeks to get that perfect crisp, garlicky tang.
- Serve and Enjoy!!


So delicious! My new favorite! …this week!