Sprouts are like tiny powerhouses of nutrition, packed with vitamins, minerals, and protein. They add a fresh crunch to salads, sandwiches, bowls, and wraps, and they are surprisingly easy to grow at home. With a little patience, and following this guide of how to grow sprouts in a jar, you will have fresh sprouts in 3-6 days.
I’ve been growing my own sprouts for years. When friends visit our home they will notice the sprouting jars in our kitchen in various stages of sprouting. Many are curious (or perplexed) and often ask “how do you grow sprouts in a jar?!” My answer is simple – “It’s easy!”
Even if you don’t have a green thumb or any outdoor space, you can still grow these nutrient-packed sprouts right on your kitchen counter—and for a fraction of the cost of store-bought. For example, a small 4 oz. container of sprouts at the grocery store usually runs $4–$5, and chances are they’re not super fresh or may have been treated to extend shelf life. Instead, you can buy a 1 lb. bag of organic sprouting seeds for around $18–$20, which will yield over 2 pounds of fresh, homegrown sprouts!
In this guide, I’ll walk you through the simple steps of sprouting in jars, ensuring a fresh supply no matter the time of year.
Best seeds for sprouting
The first step in growing sprouts is selecting the right seeds for sprouting. You can find sprouting seeds at health food stores, online, or Amazon. They come in various varieties like alfalfa, broccoli, radish, mung bean, salad sprout seeds, and lentil, among others. Make sure to choose organic sprouting seeds, as they are free from chemicals or coatings that could inhibit growth.
I typically rotate between a salad sprouting mix, alfalfa, radish, and broccoli seeds. For beginners, I recommend starting with a salad mix seed as they grow quickly and have a mild flavor.
Equipment and Materials

- Wide-mouth glass jar (quart or half-gallon size) – your basic sprouting jar
- Stainless steel mesh sprouting lid
- Tray, dish drainer, or dish for drainage – this is the set-up I use – Seed Sprouting Kit
- Grapefruit seed extract – this is optional but I highly recommend
- Seeds for sprouting – broccoli seeds, salad mix seeds,
- Water
The Sprouting Process
Rinse the seeds
- Measure out about 1–2 tablespoons of sprouting seeds, depending on the size of your jar (I use 1 heaping tablespoon for a quart jar). Place in the jar you are using.
- Fill the jar with cool water, place the mesh cover on, give it a few swirls, and drain. Repeat this process twice. This helps to remove any dust or debris from the seeds.
- (Optional) Fill the jar with cold water again and add one drop of grapefruit seed extract. This acts as a natural cleansing agent for the seeds. Swirl, let sit for 2–3 minutes, then drain and rinse twice.
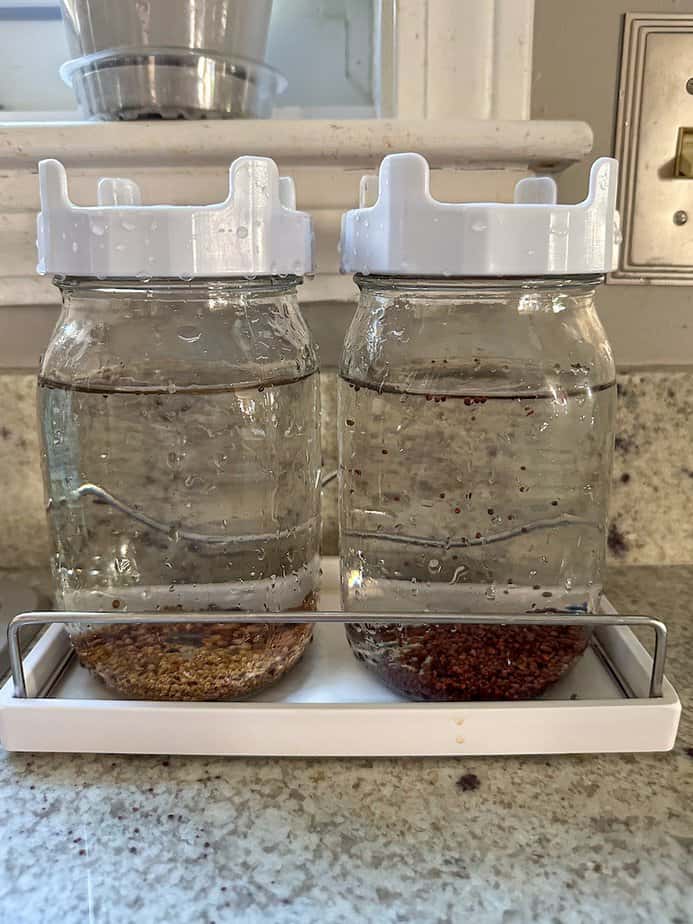
Soak the Seeds
Fill the jar again with cold water with cover on and let the seeds soak overnight or for 8-12 hours.
Drain and Rinse
After soaking, drain and rinse the seeds with fresh cool water, then repeat.
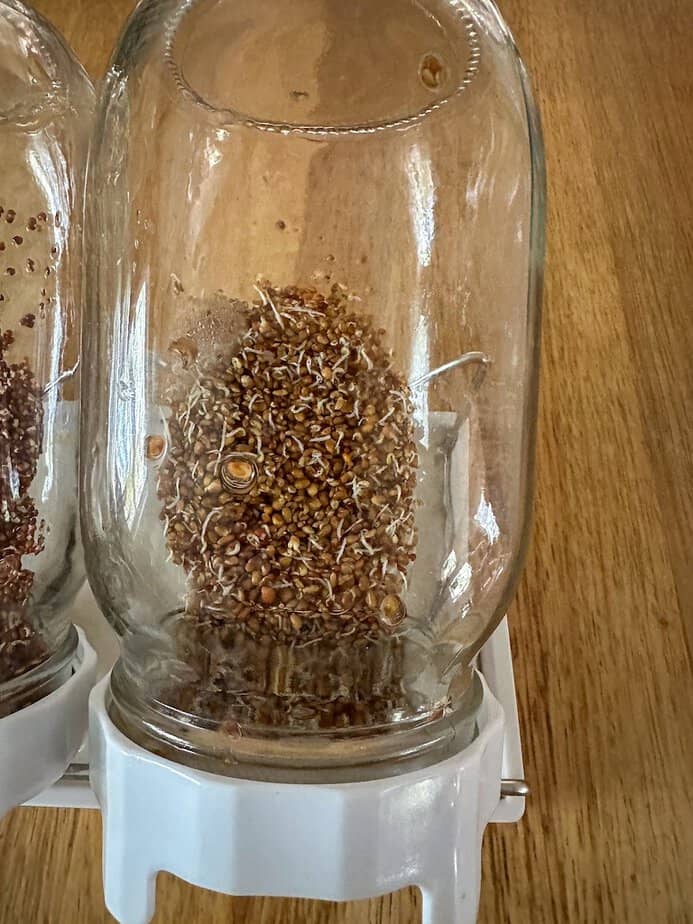
Begin Sprouting
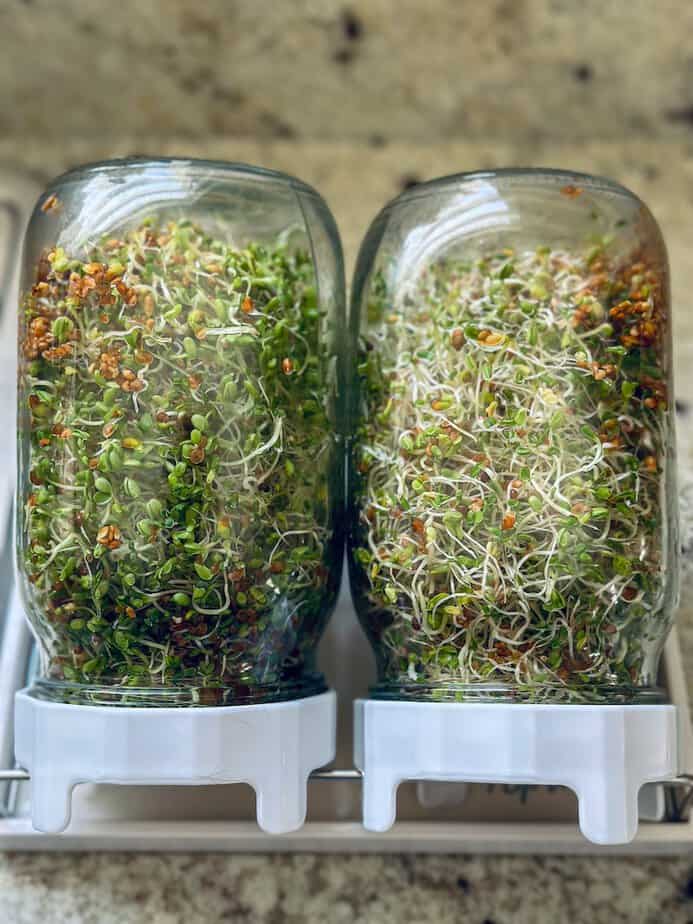
Place the sprouting jar at an angle, or upside down, in a dish, dish drainer, or tray to allow for proper drainage and airflow. Keep it in a well-lit spot, but not in direct sunlight. Repeat the rinsing and draining process twice a day – once in the morning and once in the evening.
I keep mine on the kitchen counter where I will see them and won’t forget to rinse.
Watch them Grow
Within a few days, you’ll start to see tiny sprouts emerging from the sprouting seeds. Continue rinsing and draining twice daily until the sprouts reach the desired length, usually between 3-6 days depending on the variety.
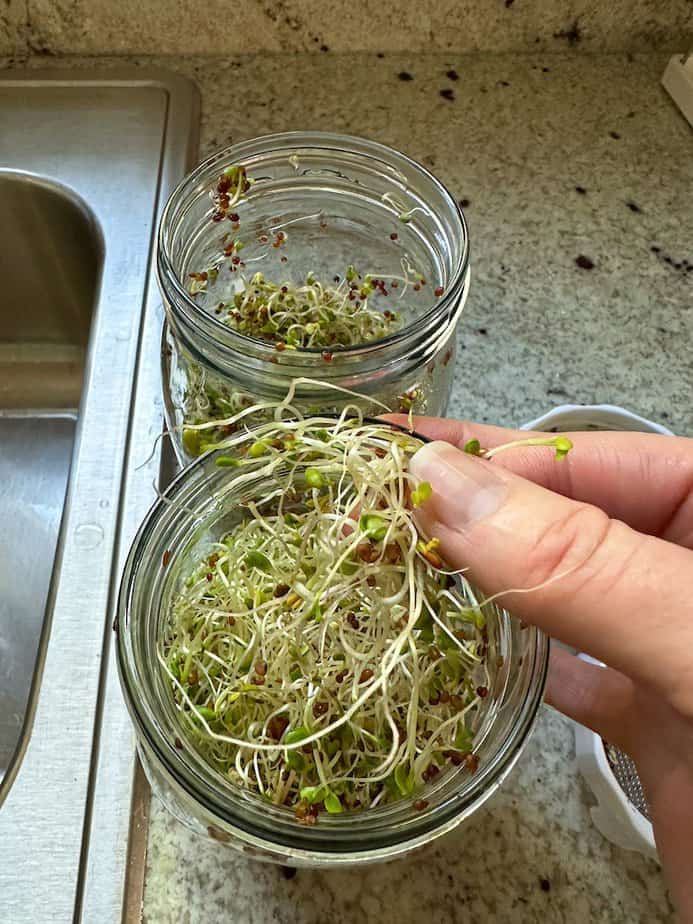
Harvest
Once your sprouts are ready, give them a final rinse and drain.
Would you like to save this?
I like to let my sprouts soak in a bowl of water—this helps the non-sprouted seeds float to the top. Simply skim them off and discard. Repeat this process a few times until you’re happy with the results. Once you’ve removed most of the non-sprouted seeds, dry your sprouts using a salad spinner or lay them out on a clean dish towel to remove any excess moisture. Then you’re ready to enjoy your fresh, crunchy sprouts!


Storage
Store in an airtight container in the refrigerator for up to one week.
Pro-tip – After I spin my batch of sprouts in a salad spinner, I will place a paper towel at the bottom of a glass storage container and lay the sprouts on the towel. Then I secure it with an airtight lid. This helps to keep any additional moisture from pooling at the bottom and keeps them fresh longer.
Other Tips for Success
- Keep your sprouting jar away from direct sunlight to prevent overheating and mold growth.
- Keep the area you are sprouting clean.
- Rinse the sprouts thoroughly with fresh cool water during each rinsing cycle to prevent bacterial growth. While rinsing each time, give the jar a swirl to help move the seeds again and prevent clumping.
- Experiment with different seed varieties to discover your favorite flavors and textures.
- Clean your sprouting jar thoroughly between each use to prevent contamination – I run my jars through the dishwasher.
- Note – broccoli sprouts will have tiny white “hairs” on the sprouts that people often think is mold growing. This is perfectly normal. However, if the sprouts smell foul or pungent, then I would recommend tossing and starting again.
- If at any time there is a foul smell coming from the jar. Toss or compost that batch and start again.
What happens if I skip a rinsing?
It is important to keep the seeds hydrated but not drowning, so missing a rinse may mean that you will need to start over. The good thing is seeds are fairly inexpensive. And remember, this is learning process. I’ve had to start over several times in the past as I forgot a rinsing.
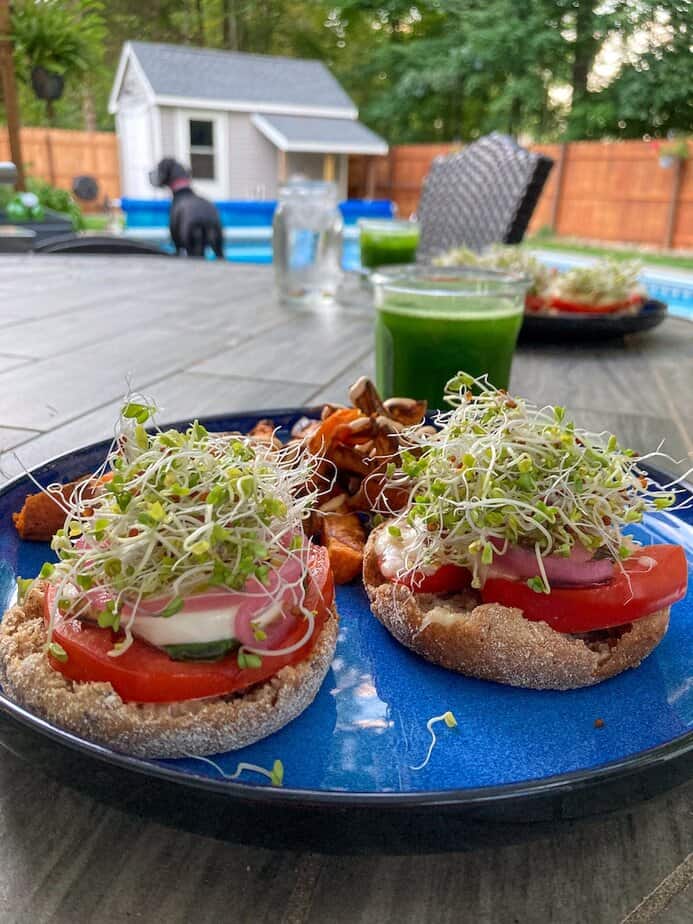
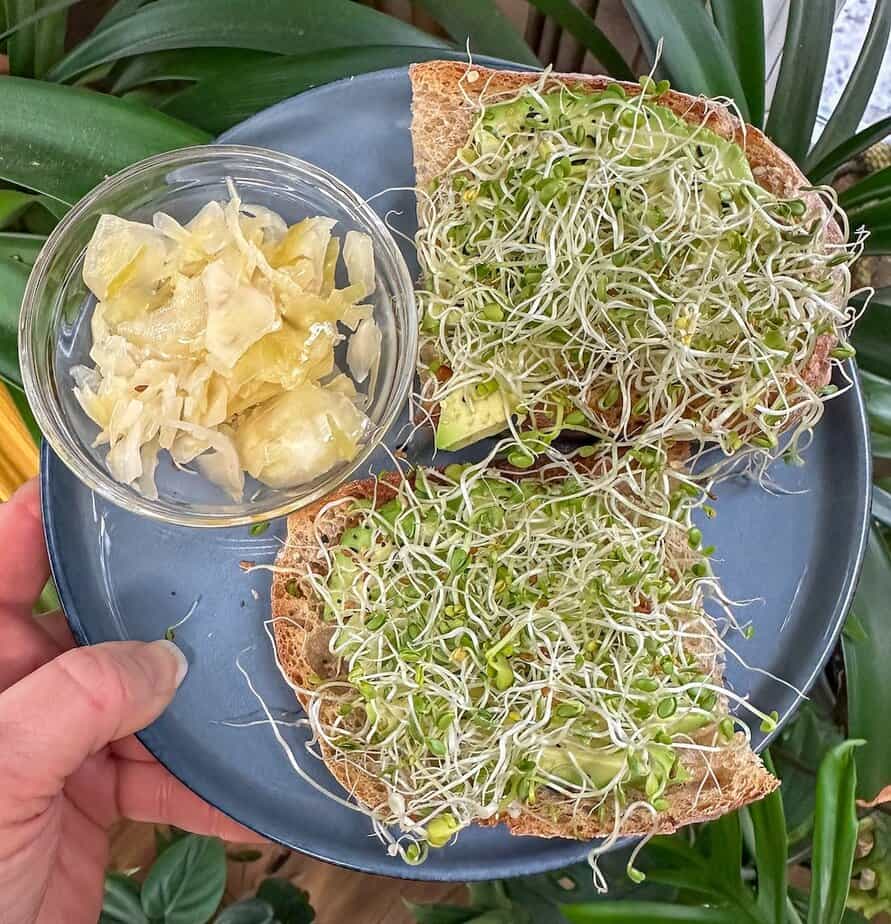
How to use your sprouts
Fresh sprouts are generally eaten raw. However, some will sauté them in dishes.
- Serve on Avocado Toast
- Salads of all kinds, such as this Roasted Butternut Squash Salad, or chickpea salad.
- On sushi, buddha, or poke bowls
- In rice dishes – add at the very end of cooking
- Add to sandwiches or wraps
- Add to smoothie for extra nutrition
- Or just grab a handful and eat it as is!
The options are truly endless!
Nutritional Value of Sprouts
Sprouts are highly nutritious and contain high amounts of vitamins, protein, fiber, beta-carotene, iron, omega-3 fatty acids, and protein.
They enhance brain and heart health.
Broccoli sprouts in particular contain high amounts of sulforaphane which is believed to have significant anti-cancer properties.
Sprouts are considered by many leading physicians and experts as one of the most “nutrient-dense” foods in the world. – The Sprout Book, Doug Evans.
I highly recommend checking out The Sprout Book by Doug Evans. He does a beautiful job explaining all types of sprouts and how to cultivate the various types right in your kitchen. He also explains the incredible benefit of sprouts in great detail.
Conclusion
Sprouting in jars is a simple and rewarding way to add fresh, nutritious greens year-round. With just a few basic materials and a little bit of patience, you can enjoy a continuous supply of homegrown sprouts that are bursting with flavor and nutrients.
Please comment below if you enjoy sprouting or if you have any questions! Would love to hear from you!
As an Amazon affiliate I may receive a commission from any products purchased. However, I only recommend items I personally use and link to help guide my readers to those items.

How to Grow Sprouts in a Jar
Equipment
- Seed Sprouting Kit Jar, mesh lid and tray
Materials
- 1-2 tbsp sprouting seeds, organic salad mix or broccoli
- grapefruit seed extract
- water
Instructions
- Start by measuring out about 1-2 tablespoons of seeds, depending on the size of your jar.* Rinse the seeds thoroughly under running water to remove any debris or dust by filling the jar with water, placing mesh cover on jar. Give it a few swirls and drain. Repeat this process two times.
- Optional **- Fill the jar with cool water again and add 1 drop of grapefruit extract. The grapefruit seed extract acts as a natural cleansing agent for the seeds. Replace the cover and give it a good swirl and let sit for about 2-3 minutes. Drain and rinse x2.
- Next, fill the jar again with cold water with cover on and let the seeds soak overnight or for 8-12 hours. (by keeping cover on while adding water, it will catch any seeds stuck at top).
- After soaking, drain. Rinse the seeds with fresh cold water and drain again, repeat. Place at an angle or upside down on a tray, dish, or dish drainer. Anything that will allow proper drainage and air flow.
- Place it in a well-lit spot, but not in direct sunlight. Repeat the rinsing and draining process twice a day, once in the morning and once in the evening.***
- Within a few days, you'll start to see tiny sprouts emerging from the seeds. Continue rinsing and draining twice daily until the sprouts reach the desired length, usually 3-5 days depending on the variety.
- Once your sprouts are ready, give them a final rinse in a bowl of cold water and drain using a salad spinner if you have one or lay on a clean towel to remove excess moisture.
- Store them in the refrigerator for up to a week in a clean, dry container.
Notes
- * I use 1 heaping tablespoon of sprouting seeds for my quart jars
- ** clean the seeds with grapefruit extract as it acts as an all-natural cleaning agent.
- *** During rinsing, I will give the jar a swirl to help loosening up the seeds and sprouts.