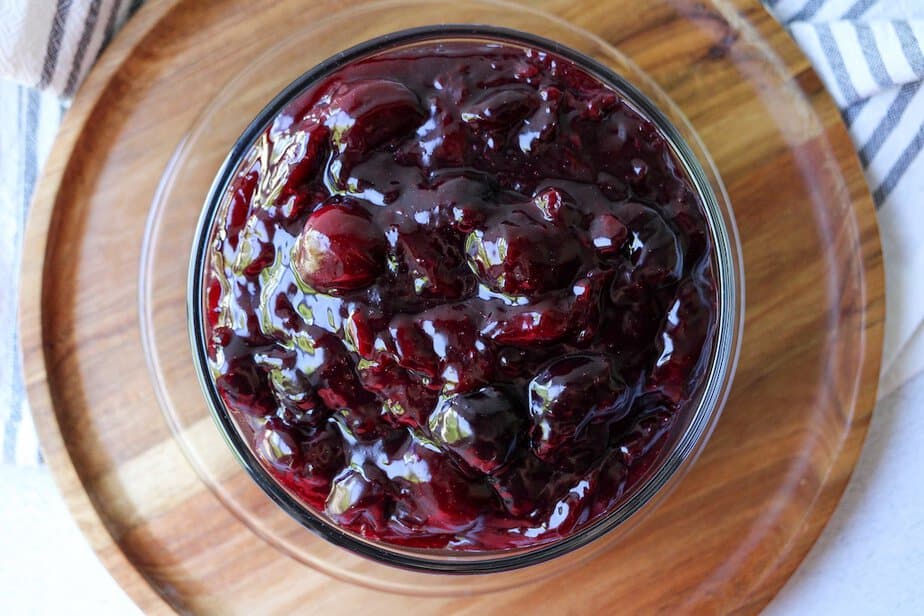
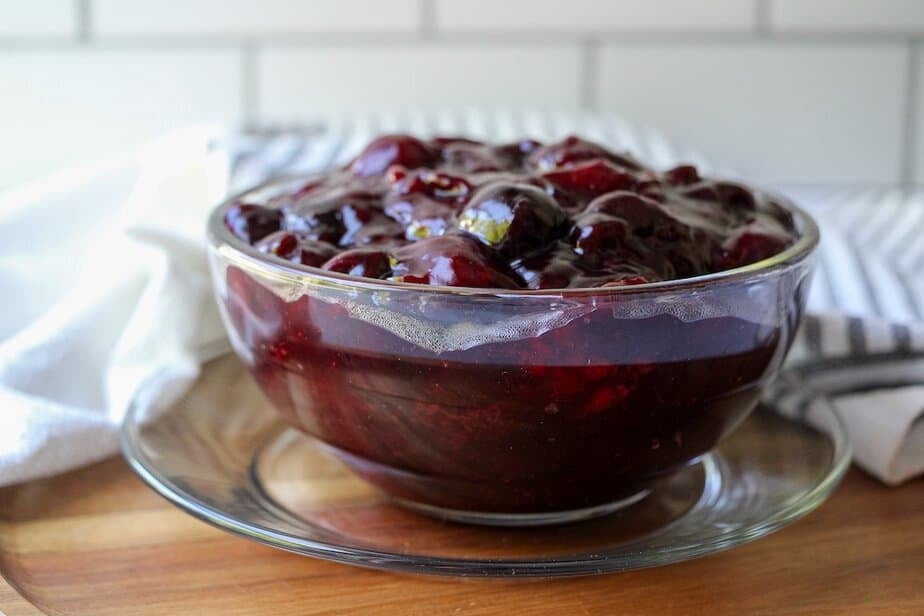
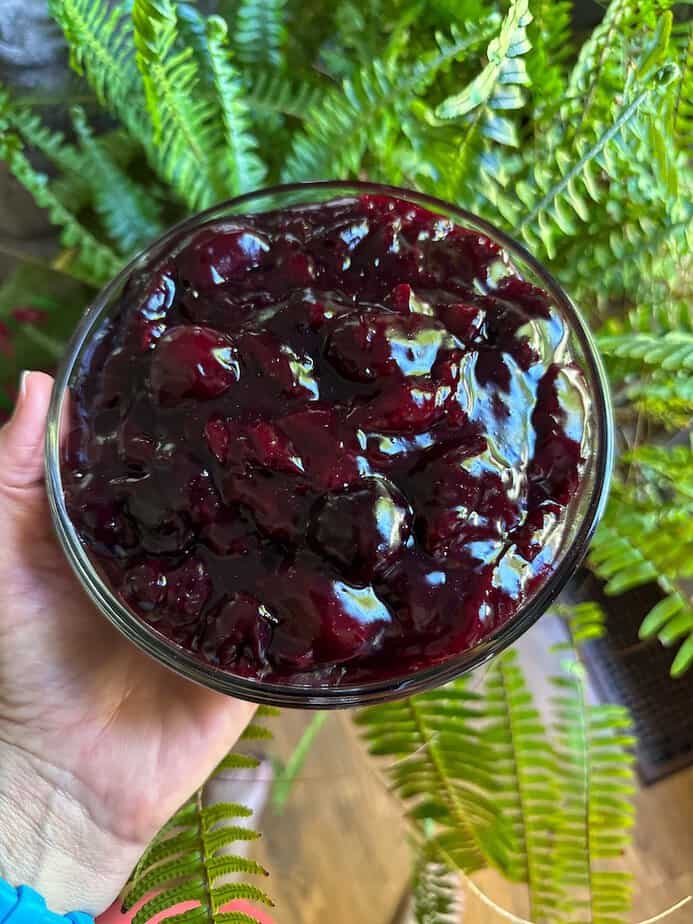
Cherry Pie Filling sounds like something you might grab from a can, and for years, that’s exactly what I did. But once I made it from scratch, there was no going back. It takes 15 minutes, uses frozen cherries (no pitting required), and tastes so much better than anything you get in a can. Four cups of rich, glossy filling, and you’ll use it for way more than just pie.
Why You’ll Love This Recipe
- 15 minutes start to finish – no thawing, no pitting, no fuss.
- Simple pantry ingredients – nothing you don’t already have.
- Can be made anytime of year – using frozen cherries allows you to make this recipe year-round.
- Tastes so much better than canned – brighter flavor, cleaner ingredients, no additives.
- Incredibly versatile – pie is just the beginning.
Ingredients
For exact measurements, see recipe card below.
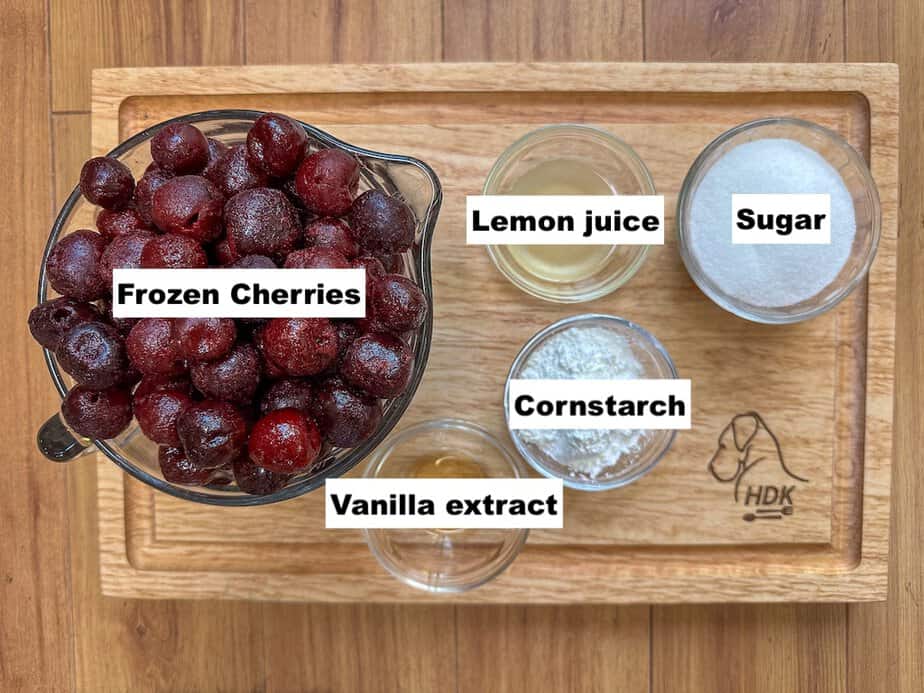
- Frozen sweet cherries – in our area, most frozen cherries are one pound bags. This recipe uses 2 pounds of frozen cherries, therefore you will need 2 bags.
- Sugar – if you use tart cherries, you will need additional sugar. I would recommend starting with adding ¼ cup at a time until you get your desired results.
- Water – to keep filling from becoming too thick.
- Freshly squeezed lemon juice – adds a bit of freshness.
- Cornstarch – for thickening.
- Vanilla extract – may substitute with almond extract.
How to Make Cherry Pie Filling
Yields approximately 4 cups
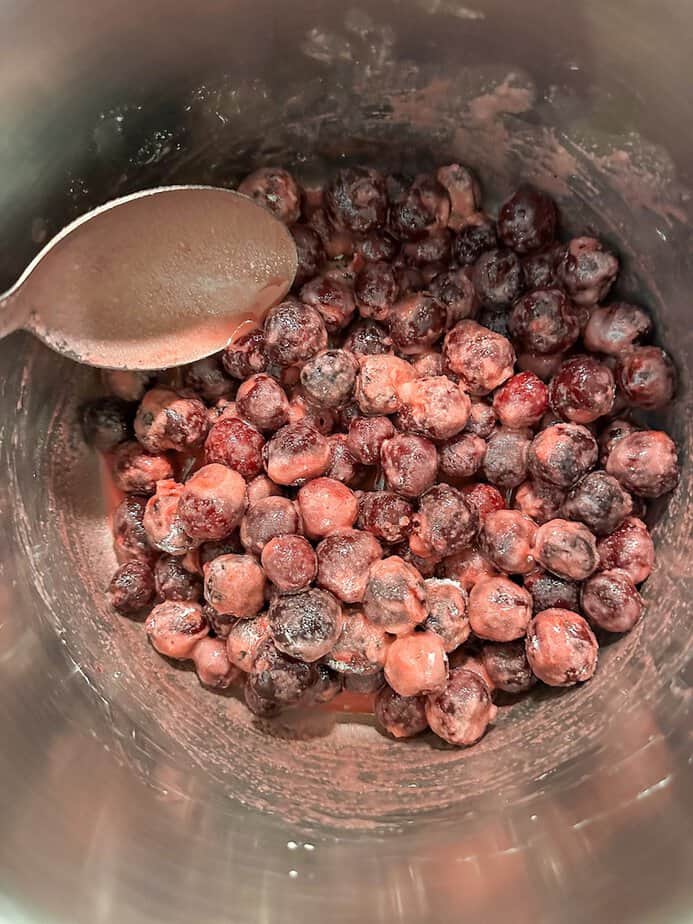
No need to thaw the cherries first, just add them straight to the pot.
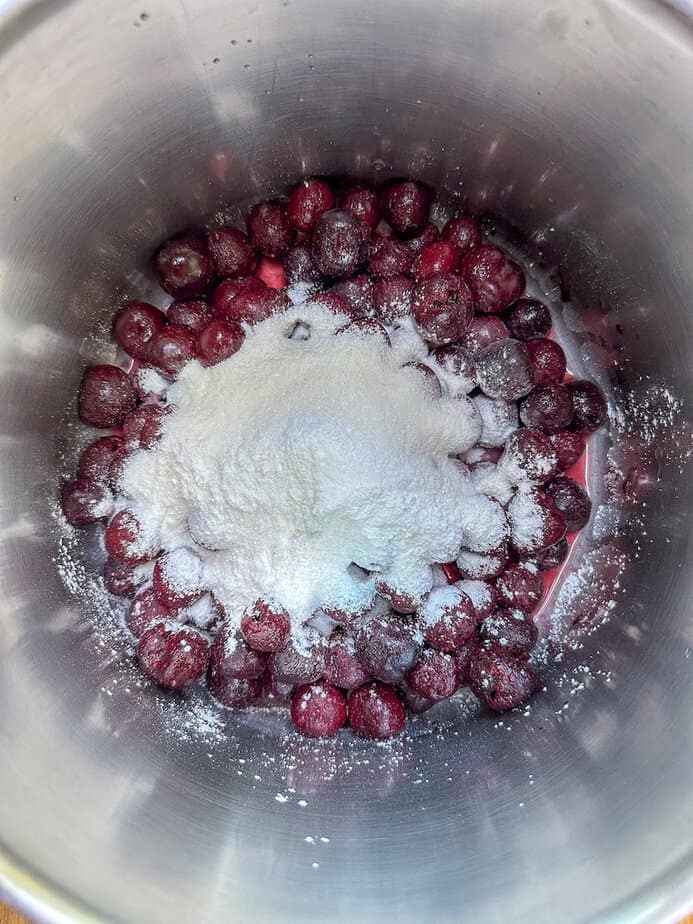
- Add frozen cherries, water, and lemon juice to a medium saucepan over medium heat.
- In a small bowl, whisk together the sugar and cornstarch until combined.
- Stir the sugar mixture into the cherry pan.
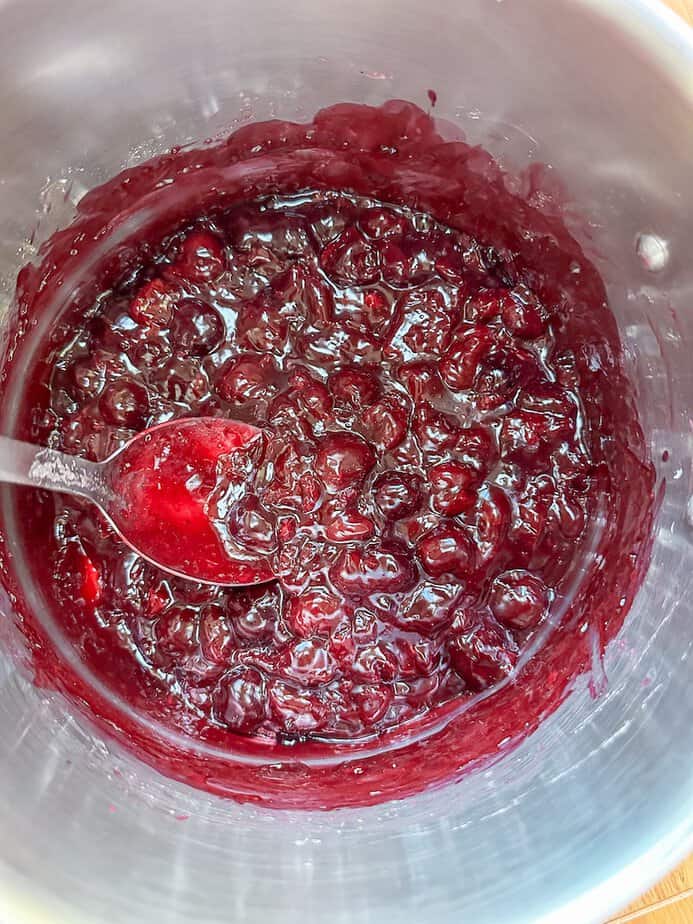
- Bring everything to a gentle simmer, stirring occasionally. The filling will thicken up in about 5–10 minutes.
- Remove from heat and stir in the vanilla.
Would you like to save this?
That’s it. Let it cool slightly before using, or store it in a jar in the fridge for up to a week.
The Story Behind This Recipe
I made this for the first time out of pure necessity. My husband grew up with a family dessert called Cherry Squares, his mom’s recipe; it was everyone’s favorite and would disappear fast. For years I made it exactly the way she did, with canned cherry pie filling, and it was great. But as I like to make things from scratch, I was on a mission to make this filling from scratch. Since my family always asks me to make that cherry dessert on a whim, I decided to create this recipe with frozen cherries. This way I always have the ingredients on hand, as this recipe whips up in 15 minutes or less!
The canned version really can’t compare to homemade. The flavor and appearance are brighter, the texture is better, and I actually know what’s in it.
Ways to Use Cherry Pie Filling
The obvious one first, but the list goes further than you’d think:
- Classic cherry pie – rich, glossy, perfect way to use this filling. You just need two pie crusts.
- Cherry Squares – a dessert you will want to make on repeat!
- Spooned over vanilla ice cream – simple and genuinely delicious.
- Stirred into yogurt or layered with vanilla pudding – an easy weeknight dessert.
- Swirled into oatmeal for a sweet breakfast twist
- Used as a topping for cheesecake or pancakes
Once you have a jar of this in the fridge, you’ll find reasons to use it all week.
For other dessert recipes, check out my seasonal Strawberry Rhubarb Pie, Homemade Blueberry Pie, and classic Apple Pie.
This post may contain affiliate links by which I may receive a small commission. All product links are items I personally use in my kitchen.
If you make this recipe I would love it if you left a review below and tag me on Instagram!
Cherry Pie Filling Recipe with Frozen Cherries
Ingredients
- 2 pounds frozen cherries
- ¾ cup sugar
- ½ cup water
- 1 tablespoon fresh lemon juice
- 4 tablespoons cornstarch
- ½ teaspoon vanilla extract
Instructions
- Add frozen cherries, water, and lemon juice to a medium-sized pot over medium heat on the stove.
- In a small bowl, whisk together cornstarch and sugar until combined.
- Stir the sugar and cornstarch mixture with the cherries in the pan.
- Bring everything to a gentle simmer, stirring to prevent sticking. The mixture will thicken as it cooks. Simmer for 5-10 minutes or until filling thickens.
- Remove from heat and add vanilla extract.
- Let cool slightly before using.