If you’ve spent any time on this blog, you know making homemade dog treats is something I’m passionate about. This post is my attempt to give you everything you need to feel confident doing the same by providing common ingredients and methods, foods to avoid, and links to my most popular recipes.
Why I Started Making Homemade Dog Treats
It started out of necessity. Our first two Great Danes had sensitive stomachs and were very inconsistent about what store-bought treats they could tolerate. So I started making my own, and never looked back.
That same period also brought a string of dog treat recalls that were alarming. Once you start reading those, it’s hard to hand your dog a mystery ingredient again. Our current Great Dane, Magnus, has eaten almost exclusively homemade treats since we got him at 8-weeks old. He’s three years old now and has had no stomach issues after consuming homemade treats.
“But I Don’t Have Time…”
I hear this a lot, and I used to think the same thing. What changed it for me was batch making. I set aside one chunk of time, make a big batch or several, and stock the freezer. On busy weeks, I pull from that stash and don’t have to think about it. Once it becomes part of your routine, it stops feeling like extra work.
Dog-Safe Ingredients to Keep on Hand
Here’s a breakdown of the ingredients I reach for most, organized by category.
Fruits & Vegetables
- Banana: naturally sweet, great binder when mashed
- Pumpkin puree: excellent for digestion; use plain canned pumpkin or make your own Roasted Pumpkin. Never use pie filling as it contains added spices and sugars that can harm dogs.
- Apples and unsweetened applesauce: remove the seeds and core.
- Sweet potatoes: nutrient-dense, and most dogs love the flavor.
- Carrots: most dogs love carrots as well.
- Leafy greens: spinach, kale, green beans all work well in small amounts.
- Blueberries: antioxidant-rich, good as mix-ins or toppings.
Proteins
- Chicken: cooked and shredded, or pureed.
- Beef: lean cuts work best.
- Fish: salmon, cod, and tilapia are all good options for dogs.
- Organ meats: nutrient-dense.
Proteins are great for dehydrating, as you will see below.
Flours
- Oat flour: my most-used flour, mild flavor, easy to work with, and I can make my own oat flour in a food processor by grinding whole rolled oats.
- Whole wheat flour: good structure, widely available.
- Coconut flour: highly absorbent, uses less than you think you need.
- Brown rice flour: great for sensitive stomachs.
- Tapioca flour: helpful for binding and chewier textures.
- Almond flour: adds healthy fats, denser texture.
I generally avoid white flour because it’s highly refined with little nutritional value. That said, I’ll occasionally blend a small amount with another flour when I need a specific texture.
Binders & Fats
- Eggs: commonly used in dog treat baking; holds everything together.
- Peanut butter or almond butter: all-natural, no added sugars or fillers, especially make sure it’s xylitol-free, which is highly toxic to dogs.
- Unsalted broths: bone broth, chicken broth, or beef broth add flavor and moisture.
A Few Things to Avoid
Just as important as knowing what to use is knowing what to leave out. Never include:
- Xylitol (found in some peanut butters and sugar-free products such as gum): highly toxic to dogs.
- Grapes and raisins
- Onions and garlic
- Chocolate or cocoa
- Macadamia nuts
- Nutmeg: often in pumpkin pie spice blends, which is why plain pumpkin puree matters
- Avocado: the pit and skin contain persin, which can be toxic to dogs.
The Basic Formula for Homemade Dog Treat
Most simple treats follow this structure: Mashed fruit or vegetable + binder + flour = treat dough.
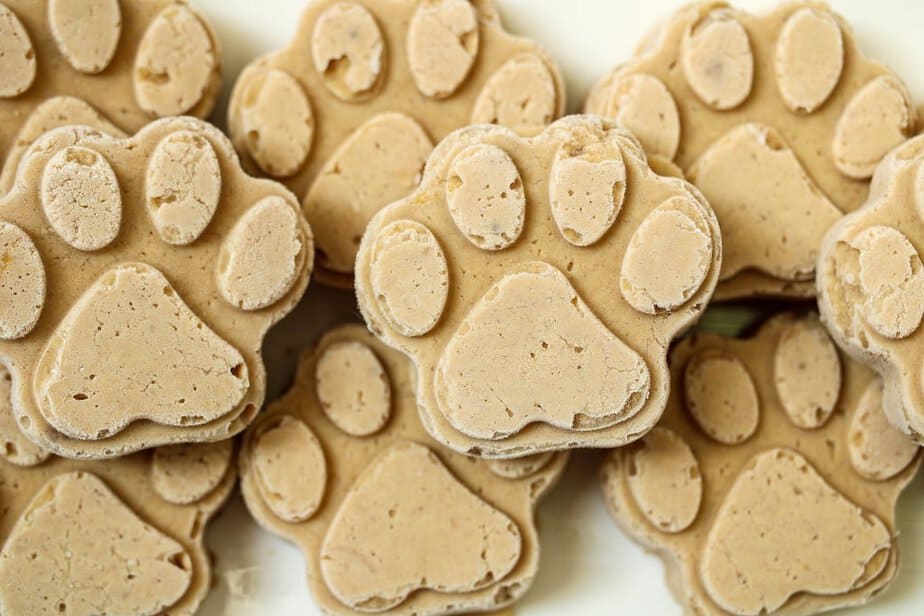
That’s it. Adjust the flour until you get a workable dough, roll it out, cut into shapes, and bake. These peanut butter banana treats are a perfect example of this, simple, reliable, and dogs go wild for them.
Methods for Making Homemade Dog Treats
There are three basic methods: baked, dehydrated, and frozen. Each one produces a different kind of treat, so it’s worth knowing which one fits your dog and your schedule. Here’s a breakdown of all three, with recipes for each.
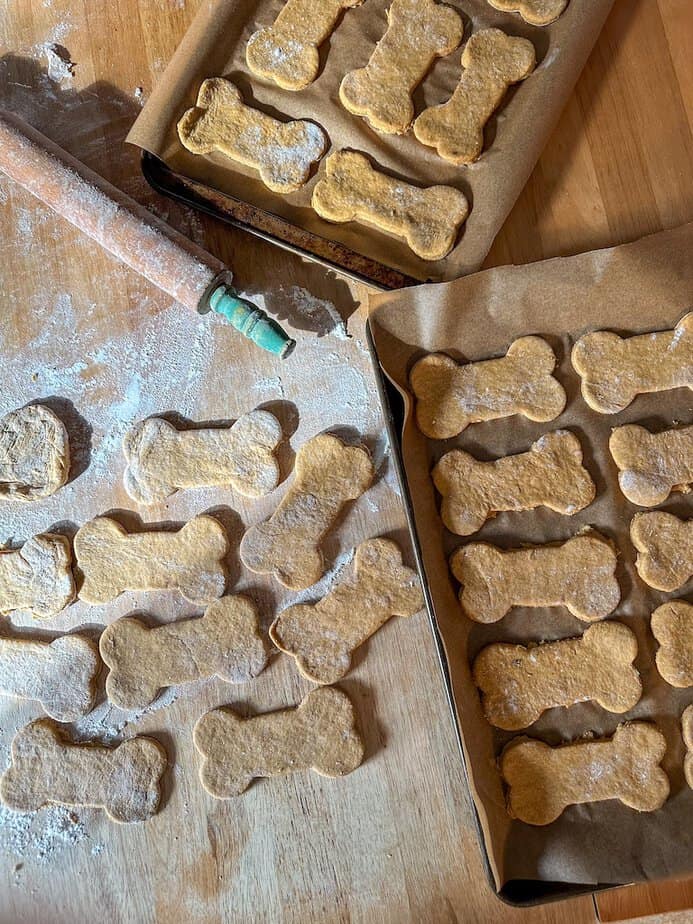
Baked Dog Treats
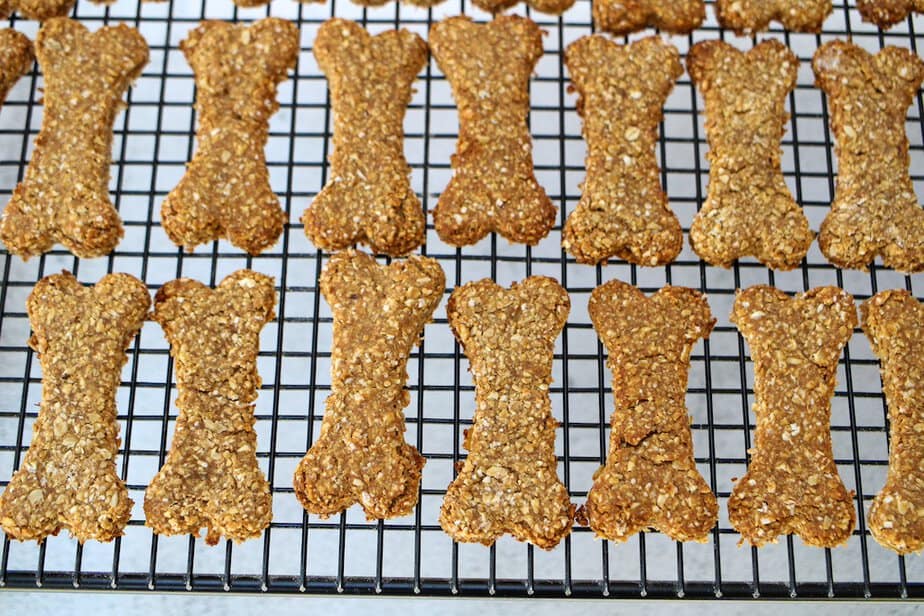
Baking is the most common method for making homemade dog treats. The dough can be rolled out and cut with cookie cutters or a knife. Or the dough can be scooped and shaped using your hands. Once ready for baking, treats are placed on an oiled or parchment lined baking sheet and baked at a low temperature (usually 300–350°F) until firm and slightly browned. Longer baking times at lower heat creates crunchier treats.
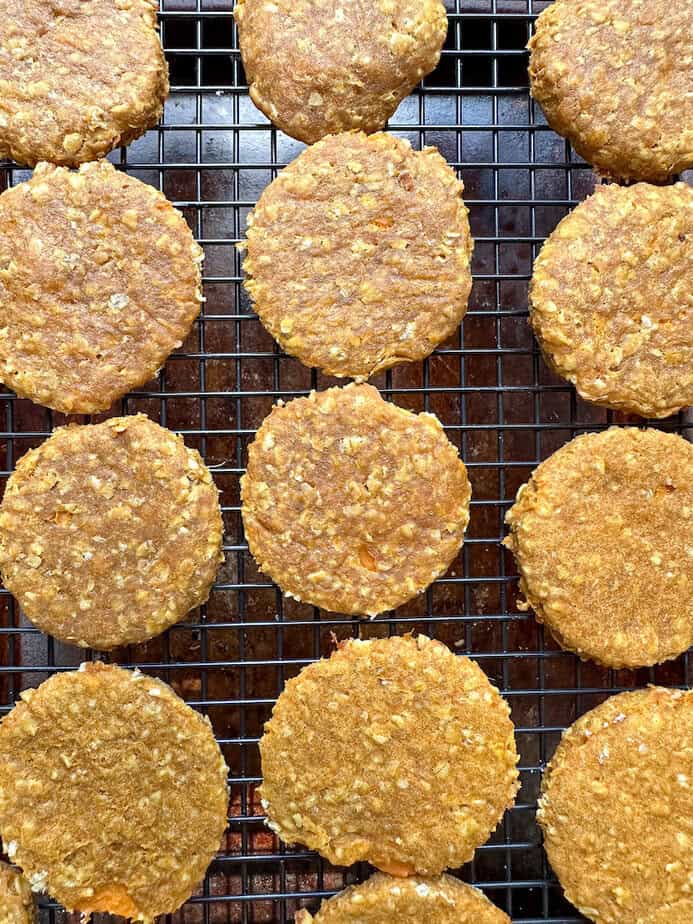
I have several soft dog treat recipes that are kept on rotation in our house. These soft dog treats are great for: training, or for older dogs with teeth or gum issues. Here are a few recipes to try:
- Homemade Soft Dog Treats
- Carrot Dog Treats
- Pumpkin with Flaxseed Treat
- Banana Pumpkin Dog Treats
- Zucchini Treats
- Pumpkin and Apple
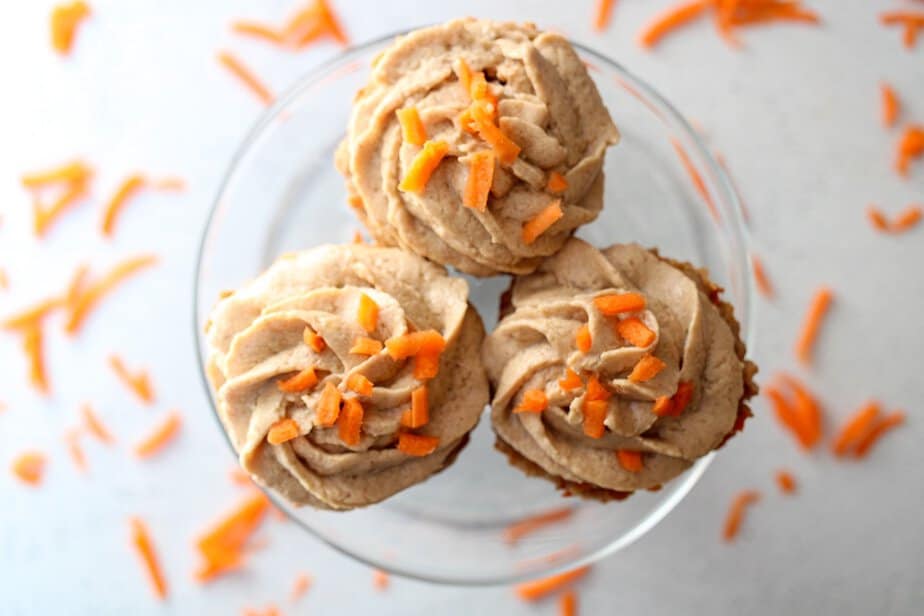
- Carrot Cake Pupcakes – these are so some fun to make for special occasions, like your pup’s birthday!
- St. Patrick’s Day Pupcakes – don’t let the humans in the family have all the Irish fun. These pupcakes are dog-friendly and a treat your dog will enjoy.
Some baked treats that have a crunchier texture:
Would you like to save this?
For fun dog-bone shapes I use these cookie cutters.
Dehydrated Dog Treats

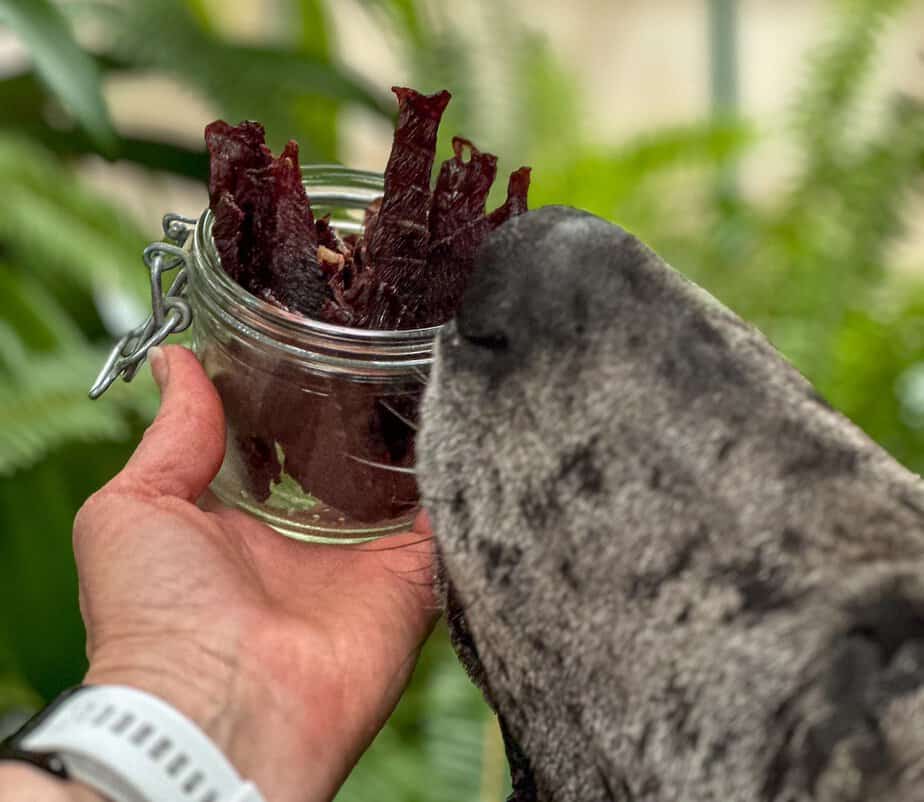
Dehydrated dog treats do work best when using a dehydrator. While food can be dehydrated using an oven, it is not as convenient and uses more energy than a dedicated dehydrator. I personally use this 10-tray Dehydrator made by Ivation.
Dehydrating slowly cooks and removes the moisture in food by cooking at a low temperature over a period of several hours. The result is a shelf-stable treat that is made with minimal ingredients, often only one. Depending on what I am dehydrating the temperature will be set between 135–165°F. Most fruit and vegetable treats take about 6-8 hours, and meat generally takes longer, about 10-12 hours depending on thickness.
Here are some of my most popular dehydrated dog treat recipes:
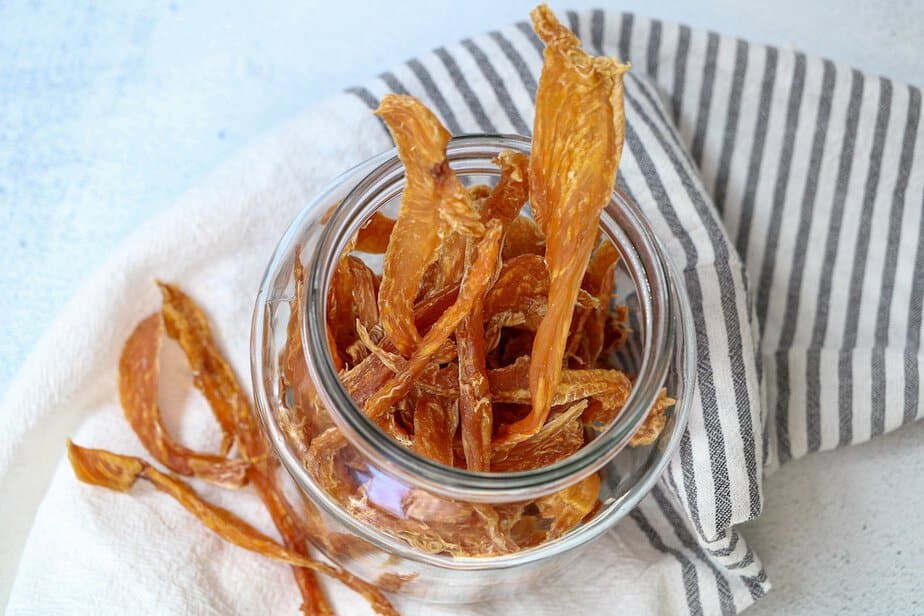
- Dehydrated Chicken Strips
- Dehydrated Sweet Potato Treats
- Homemade Beef Jerky for Dogs
- Dehydrated Ground Beef Patties
Dehydrated treats can be stored at room temperature. In humid climates, I recommend storing in the refrigerator.
Frozen Dog Treats


The beauty of frozen treats is that there is no baking required. You simply blend the ingredients, pour into fun molds or an ice cube tray, and freeze. These need to stay in the freezer, obviously, but they’re the fastest option. Frozen treats are especially helpful during the warmer months, for hydration, as a cooling snack.
Here are some of my most popular frozen treat recipes:
- Peanut Butter and Banana Frozen Yogurt Dog Treats
- Red, White, and Blue Frozen Dog Treats
- Blueberry Frozen Treats
- Pumpkin and Apple Frozen Dog Treats
- Stuffed Bell Pepper Dog Treats: these are a very nutritious, filling treat that will keep your dog busy while eating the filling.
How to store homemade dog treats
Storage depends on the type of treat:
- Soft treats: store in the refrigerator and should be used within about 7-10 days, but store well in the freezer for batch making.
- Dehydrated treats: store in an airtight container for several weeks.
- Frozen treats: keep in the freezer and use as needed.
As I stated above, I generally make a double batch and store extras so I always have something ready for Magnus.
The Question I Get the Most about Treats
What is the serving size?
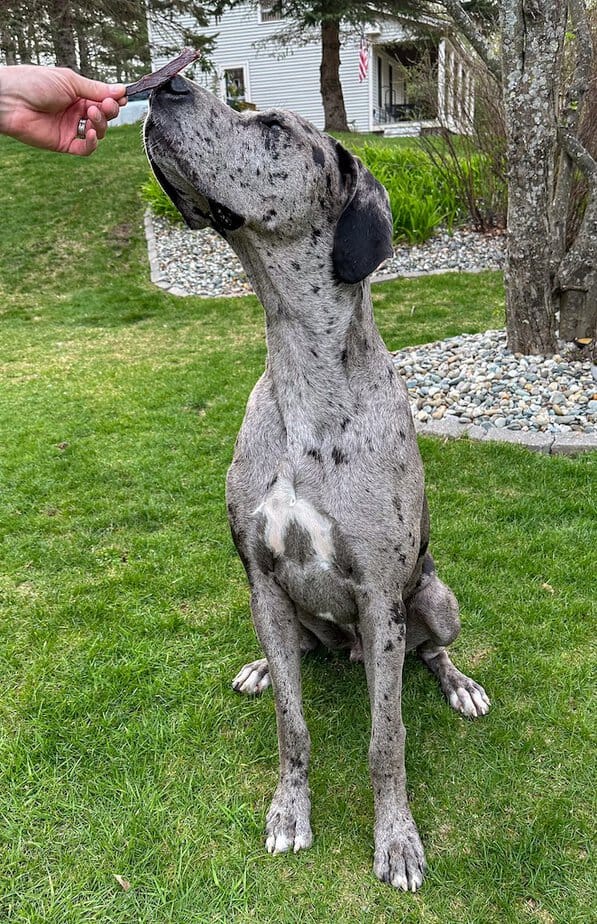
Remember, we have giant dogs! So my treats are larger in size. Servings per day truly depend on your dog’s age, weight, breed, activity level, and dietary needs. A general rule of thumb is 1-2 treats per day.
Our Great Dane, Magnus, is currently 3 years old, and is fairly active for a Dane. Therefore, he gets about 3 treats a day.


Tips for Making Homemade Dog Treats
- Rotate ingredients to keep things balanced
- Store treats properly (refrigerate or freeze when needed)
- Adjust size based on your dog
Conclusion
To get you started, I recommend starting with ingredients your dog likes such as; bananas, bacon, peanut butter, etc. Make a recipe with those ingredients and you will have a happy pup! That’s what I did with Magnus, and he now enjoys a wide variety of homemade treats every day.
For a full list of all my homemade dog treats recipes, check out my Dog Treat Category.
If you have found this post helpful or have any questions, please leave a comment below.
This post may contain affiliate links by which I may receive a small commission. All product links are items I personally use in my kitchen.
If you make any of these recipes, please tag me on Instagram!